Learning and Using Adobe Substance 3D Painter
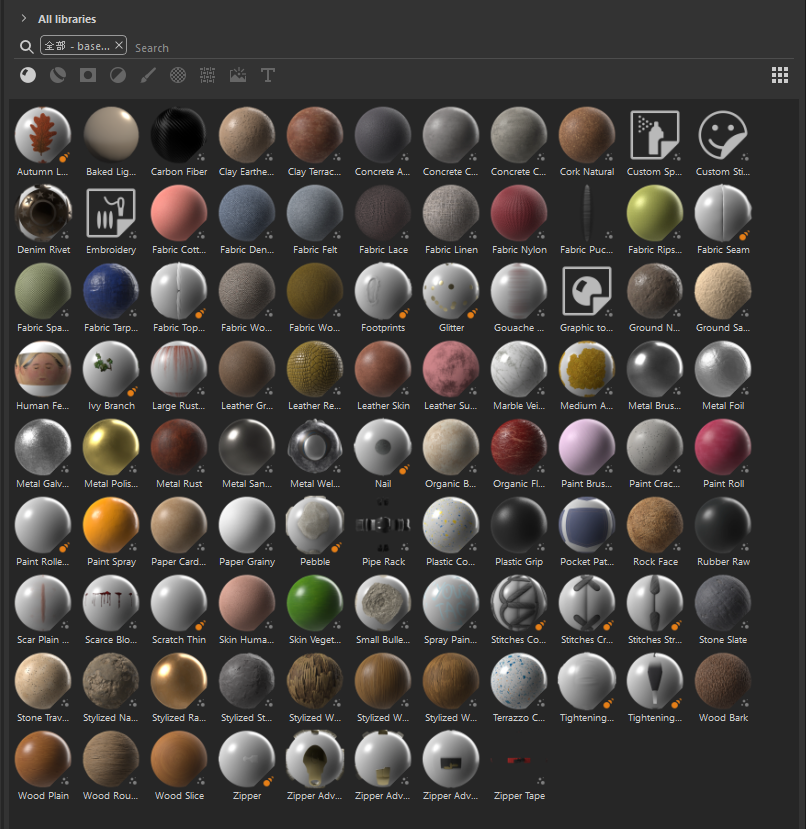
As shown in the figure, this software comes with a large number of material assets built-in.
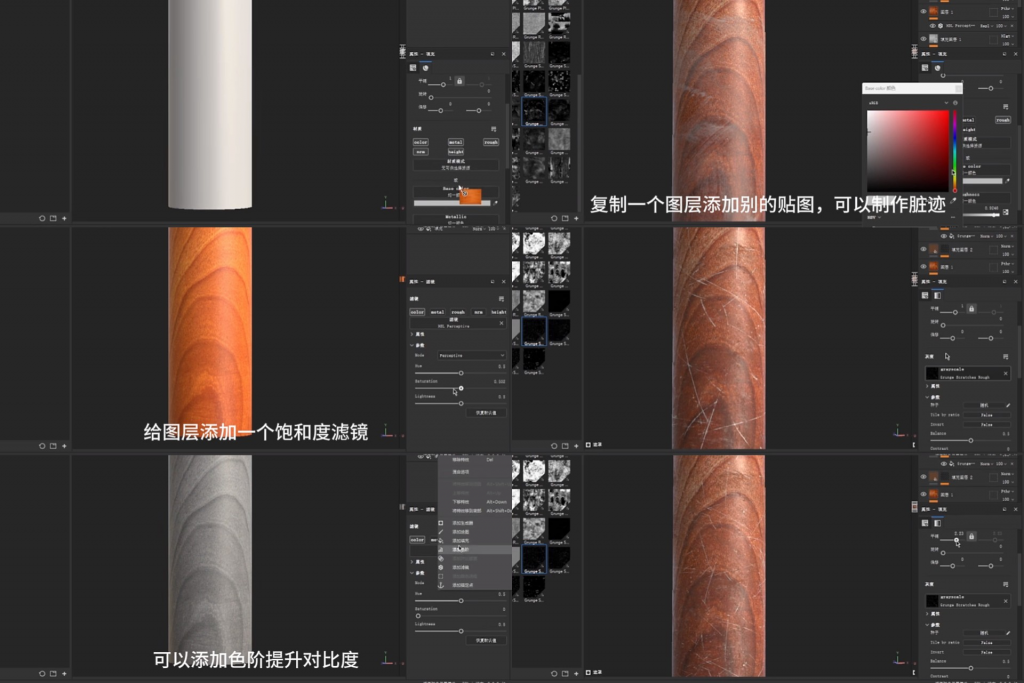
At first, I found a follow-along tutorial online to learn how to apply materials in this software, as well as how to adjust the saturation and contrast of colors, and so on. Eventually, I learned how to apply textures to 3D models, such as adding wood scratches and giving the scratches a sense of depth.
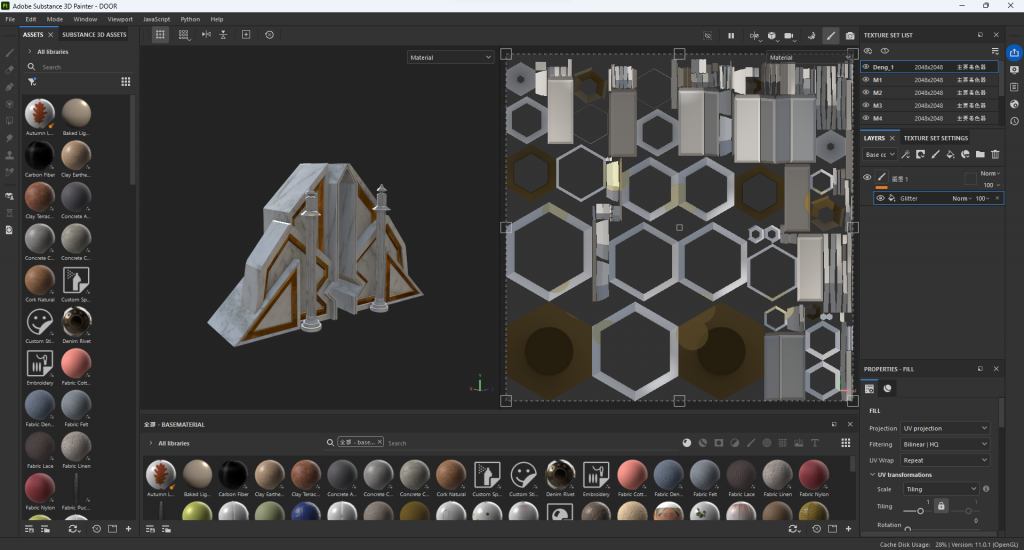
After that, I tried using Substance Painter (PT) to create materials for the modeled door. At first, I found that the textures were not natural enough and somewhat disordered. Later, I went back to Blender, unwrapped every detail of my model and adjusted the face orientations, after which I was able to get good textures in Substance Painter (PT).

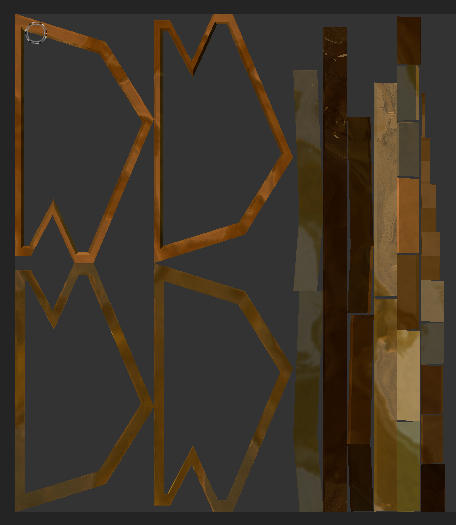
UV unwrapping map of the modeling stone pillar
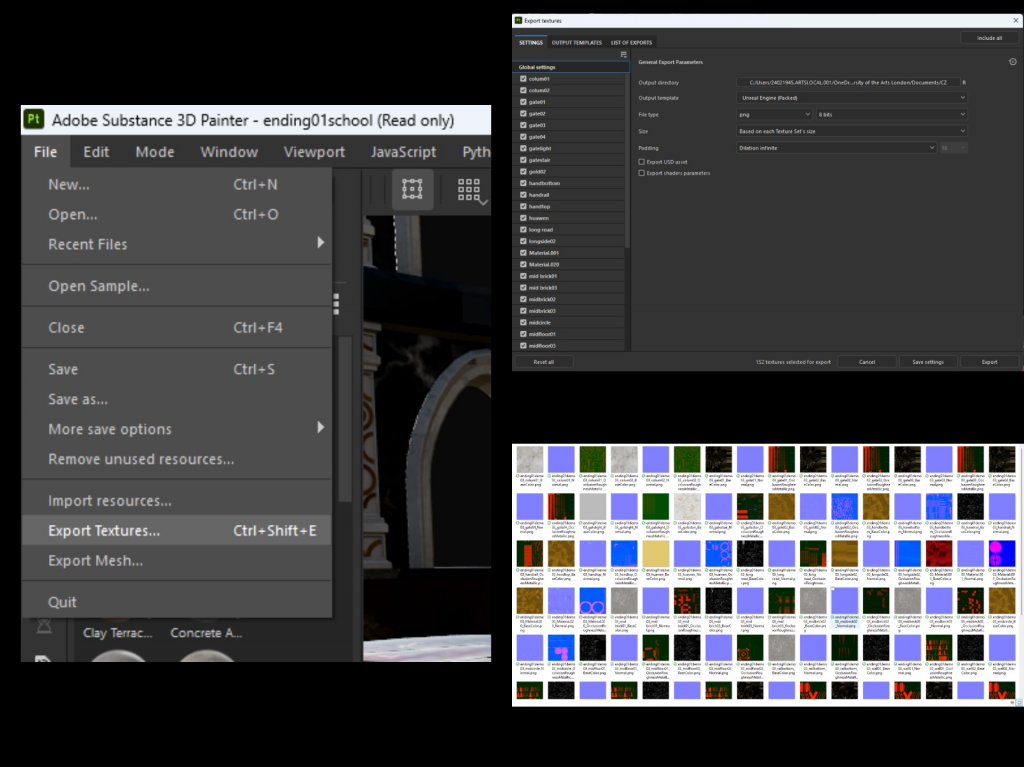
Material Export
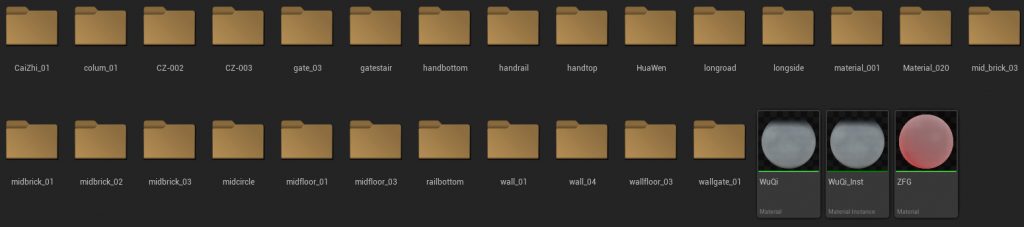
I create a new folder on the computer, and after my partner has applied the materials, I am responsible for importing the materials into the new folder, making it easy to import them into Unreal Engine 5 (UE5) later.
About ue5
I have exported all the materials from Substance Painter one by one, saved them to my computer’s OneDrive, and named them appropriately so that I can easily match them in Unreal Engine 5 (UE5).
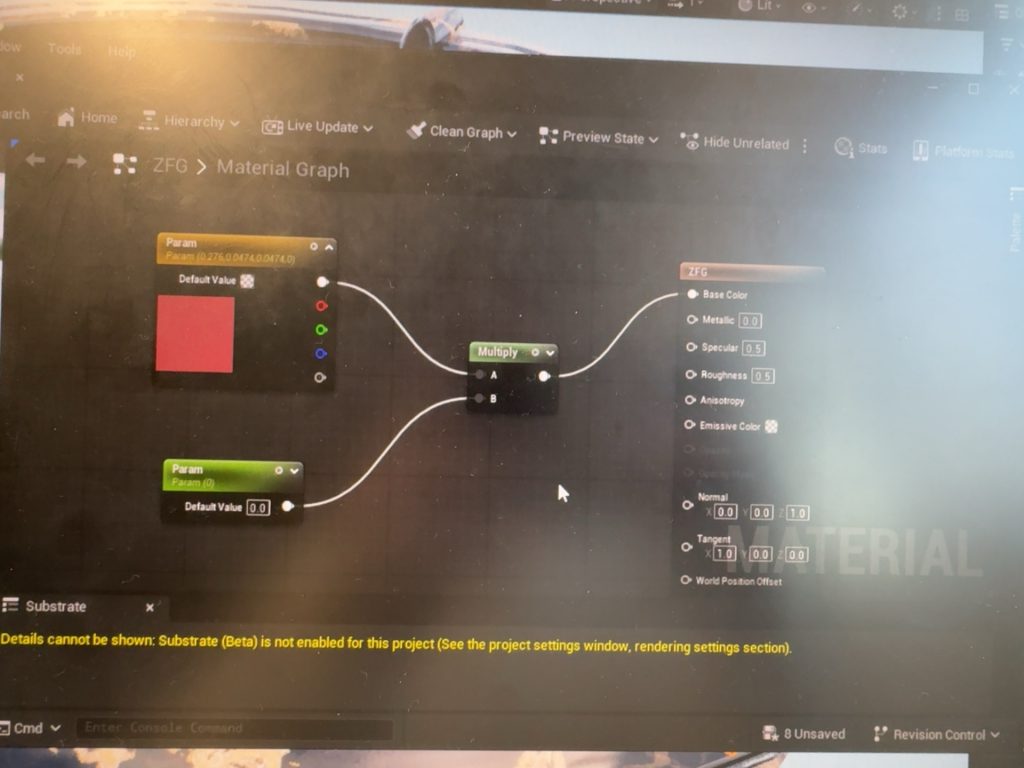
When I needed to create a self-illuminating material instance in Unreal Engine 5 (UE5), I encountered an issue. It turned out that the output of the Multiply node was connected to the Base Color port, but for self-illumination, it should be connected to the Emissive Color port instead. So I adjusted the connections, and that fixed the problem.
Practical Activity
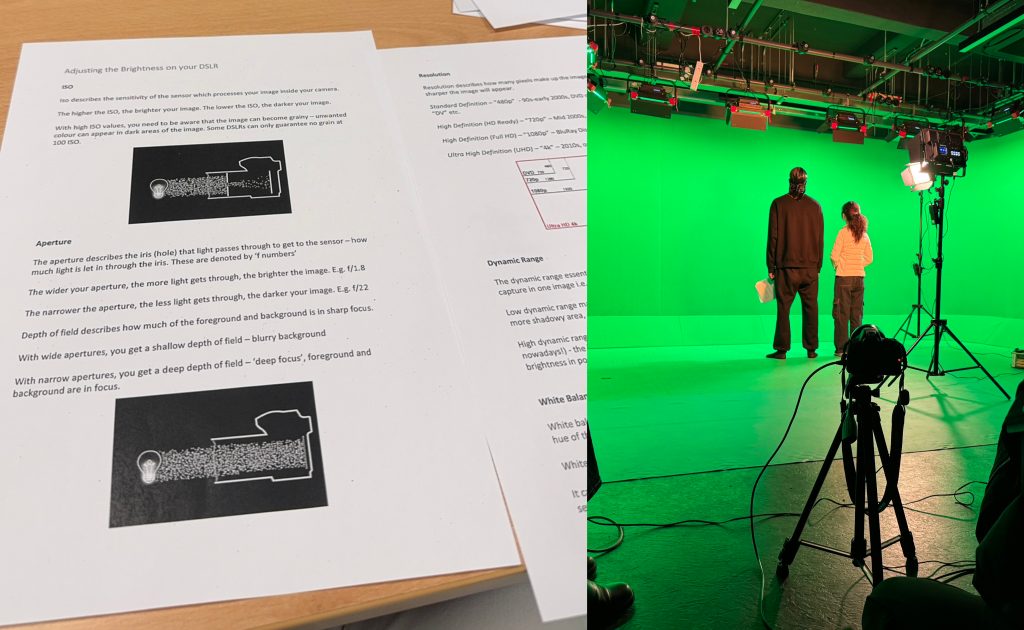
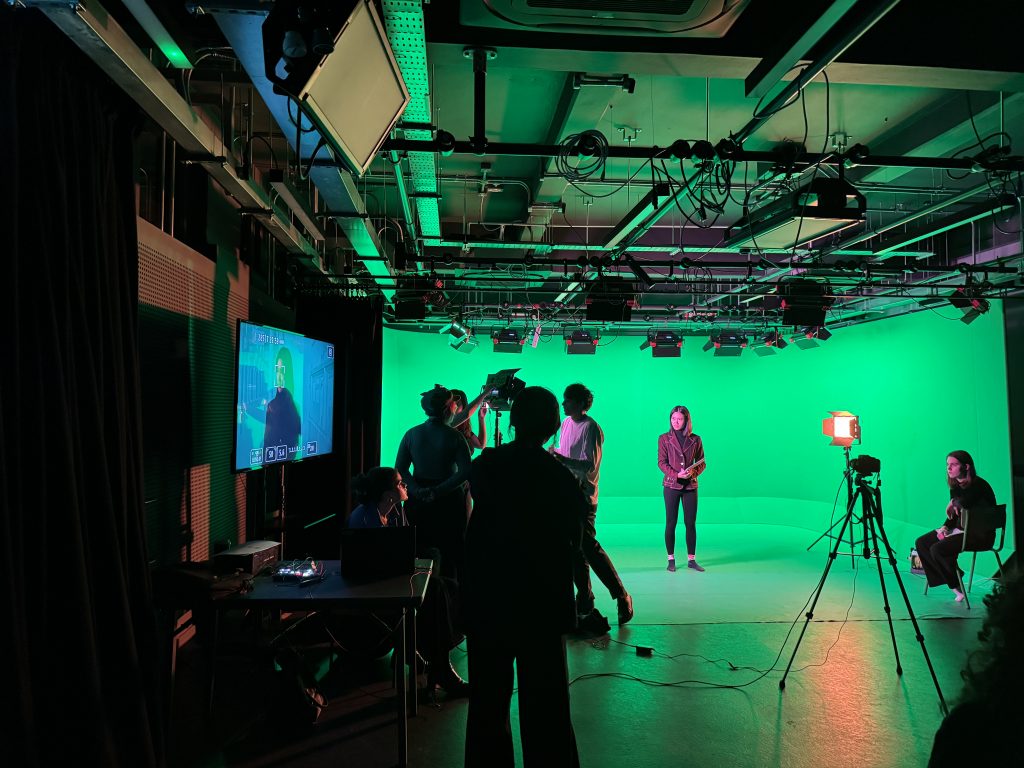
What I have learned about green screen technology is as follows. It is a core technique in film, television, and digital content creation (e.g., game art, 3D scene design), used to integrate virtual backgrounds via post-production. The principle is to use a uniformly colored green backdrop—its distinct contrast with the foreground allows software to accurately isolate and remove the green background.
Key considerations include uniform lighting (to avoid blurred matte edges) and addressing green spill (green light reflecting onto the subject) with tools in software like Premiere Pro or After Effects. For 3D integration (e.g., in Unreal Engine 5), precise material node connections are essential (e.g., avoiding incorrect port links, a mistake I previously made). Once isolated, the subject can be seamlessly combined with virtual backgrounds, making this technology indispensable for immersive visual experiences.
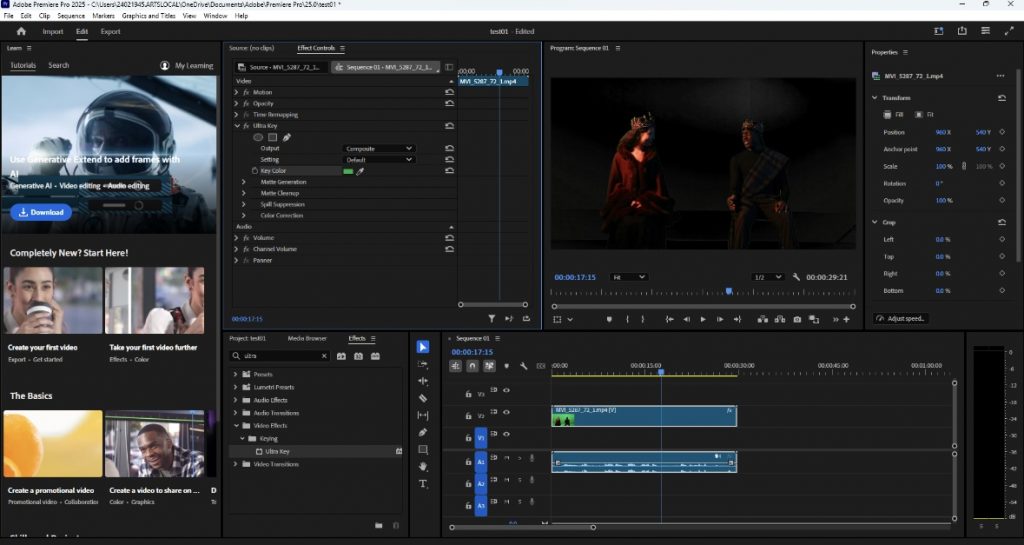
Post-production Keying
There are two common video keying methods in Premiere Pro to extract people and export videos with a transparent background: For solid-color backgrounds like green screens or blue screens, the Ultra Key tool can be used—import the video material and drag it to the timeline, search for “Ultra Key” in the “Effects” panel and apply it to the footage, open the “Effect Controls” panel and use the eyedropper tool to select the solid background color to be removed, adjust parameters such as “Pedestal” and “Contrast” in “Matte Generation” to refine edges, fix residual background blocks via “Matte Cleanup”, then press Ctrl+M to open the export window, select QuickTime as the format, set the codec to PNG or Animation, and check “Export Alpha Channel” to complete the export; for people with complex edges or non-solid-color backgrounds, the Pen Tool is suitable—import the material and drag it to the corresponding track on the timeline, select the footage, find “Opacity” in the “Effect Controls” panel and click the Pen Tool below it, draw a closed path point by point along the person’s edge (hold down the Ctrl key to drag anchor points for fine-tuning), add keyframes by clicking the clock icon next to the path and adjust the path frame by frame for motion tracking if the person moves, moderately adjust the feather value to make the edges more natural, and finally export with the same settings by checking the Alpha Channel to get a video of the person with a transparent background.

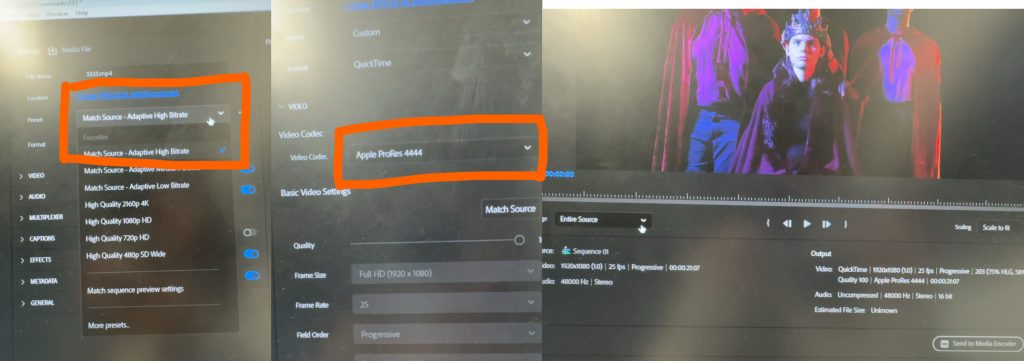
To export a video with a transparent background in Premiere Pro after keying: Press Ctrl+M (or go to File > Export > Media) to open the export window. Select QuickTime (recommended for compatibility) or PNG Sequence (for lossless transparency) as the format. For QuickTime, set the codec to “Animation” or “Apple ProRes 4444” and check “Export Alpha Channel”; PNG Sequence retains transparency by default. Confirm the export path and click “Export”. Verify success by importing the video back—if it overlays other footage and shows the lower layer, the transparent background works.
Leave a Reply